Lawn Care 101
How to Repair Lawn Patches

What to do and why.
Find the cause of damage.
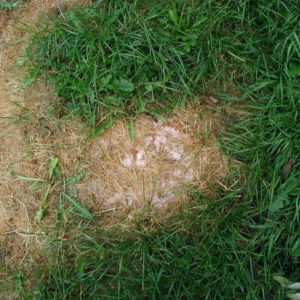
The first step in repairing bare patches is to identify the underlying cause. Understanding what led to the bare patches will help you address the root issue and prevent future occurrences. Common causes include compacted soil due to heavy foot traffic, poor drainage that leads to water pooling and suffocation of the grass, lawn diseases causing thinning or bare patches, or pet damage from frequent urine or digging.
Preparations and Repair.
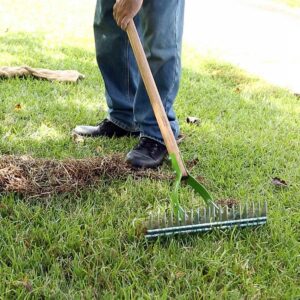
Once you have identified the cause, it's time to prepare the area for repair. Begin by removing any debris such as dead grass, leaves, or rocks from the bare patches. Then, use a garden rake or aerator to gently loosen the compacted soil, promoting better root growth and water penetration. Smooth out any unevenness or bumps in the soil to create a flat surface for the next steps.
Next, you have two options for repairing the bare patches: seeding or sodding. Choose the method that suits the size of the bare patches and your preference.
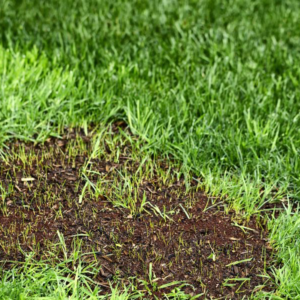
If you opt for seeding, select an appropriate grass seed variety that matches the existing grass type in your lawn. Prepare the soil by lightly raking it to create a loose surface for seed germination. Evenly distribute the grass seed over the bare patches using a hand or broadcast spreader. Afterward, gently rake the soil to cover the grass seed with a thin layer of soil or compost. Water the seeded areas lightly every day until the new grass establishes, ensuring the soil remains consistently moist but not waterlogged.
Alternatively, you can choose sodding for larger or more immediate repairs. Purchase quality sod pieces that match your existing grass type. Loosen the soil in the bare patches and remove any debris or rocks. Lay the sod pieces tightly together, making sure they are level with the existing lawn. Thoroughly water the newly laid sod to promote root establishment, and then continue to water it daily for the first two weeks, gradually reducing the frequency afterward.
Aftercare.
Once the repair is complete, proper aftercare is crucial for the success and healthy growth of the newly established grass. Water the repaired areas regularly, keeping the soil moist until the grass establishes. Avoid overwatering, as it can lead to shallow root growth and other issues. After the new grass has grown to a height of about 2 inches, apply a fertilizer to provide essential nutrients for healthy growth. Limit foot traffic on the repaired areas for a few weeks to allow the new grass to establish strong roots, and promptly remove any weeds that may emerge to prevent competition with the new grass.


Conclusion
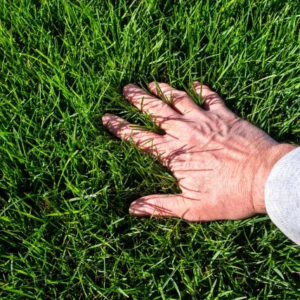
By following these steps and providing proper care, you can successfully repair bare patches in your lawn and restore its lush green appearance. Remember that patience and consistent maintenance are key to achieving a healthy and vibrant lawn that you can enjoy for years to come.
Learn more about aeration here.
Learn more about overseeding here.
